By now you know that I'll do anything in the name of science. That is, of course, anything except that 10th-grade Science Fair project that I never turned in. But that was nearly ten years ago- water under the bridge. (For the record, I was never very good at math!)
Our third science experiment was comprised of a series of mini-experiments. And it took a loooong time. You could probably do it in less time if you're not limited to experimenting during your toddler's nap time.
I didn't take a picture of the necessary ingredients since I didn't know just how far we'd be taking this one, but here's a rough list- note that I used two of everything since I was working with two little scientists:
Eggs
Cups/glasses/bowls- whatever you've got to hold an egg with room for expansion
Vinegar
Water
Food Coloring
Corn Syrup
An Iron Stomach (yes, you'll need two of these)
Step One is easy enough.
That's an egg in each glass with enough vinegar to more or less cover the egg.
Step Two is harder- especially if you're a kid. That's because Step Two is waiting. There are no pictures of Step Two.
Step Three wasn't much more exciting.
Step Three is peering into the glass to see if anything has changed in the last 24 hours. You can see that there's a foaminess developing on top of the vinegar. Not much else was happening at that point.
Step Four was more waiting. Another 24 hours of waiting.
Step Five was the same as Step Three.
Those eggs don't look too exciting, do they? Hold on, let me remove them from the glasses so you can get a better look at them.
Pretty grody, huh? Those eggs are nude, naked, undressed, in their birthday suits (though I'm not sure that idiom applies to eggs). And they are very rubbery; they feel like super balls. But don't try to bounce them! It's not easy to see in the picture, but the eggs expanded while soaking and the membrane holding everything together is stretched really tight.
So we all learned that vinegar will eat the shell off an egg. And make it swell up like a tick.
But we couldn't stop there. There were so many more possibilities. What else could we do with naked, bloated eggs? We did what anyone with an over-abundance of food coloring in her cubbard would do.
I have completely lost track of what step we're on, but whatever number it is, it was to fill the glasses with water, stir in some food coloring and put the eggs back in.
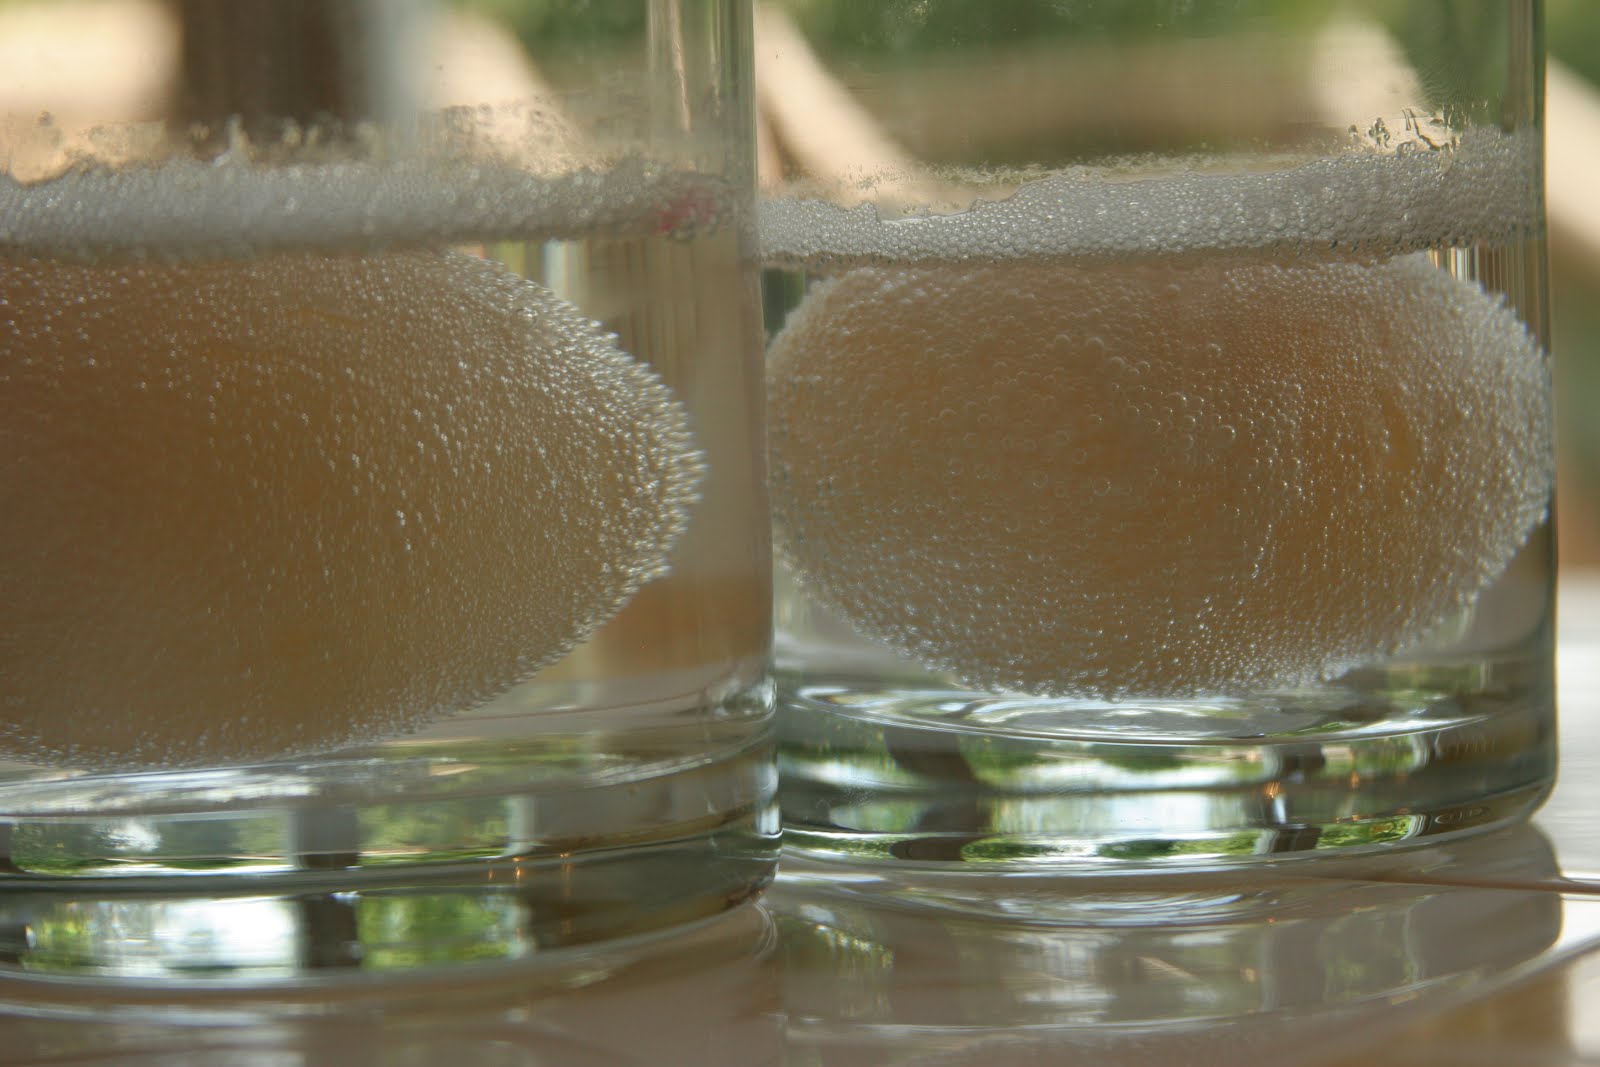
After another full day of Step Two, we checked back and found this:
As you can see, the water level has gone down a bit. A-Train hypothesized evaporation. Not a bad guess for a six-year-old, but still wrong*.
Then I carefully scooped them out and put them on a plate for closer inspection.
Still rubbery and more swollen than ever. And check out that deep coloration-wish I could get my Easter eggs to look like that**!
You're probably hoping we're done now so you can get back to doing whatever you were doing before you started reading this post. Sorry, we're still going strong!
Next step- put the eggs in clean glasses and add corn syrup. Yes, corn syrup***.
You won't be able to completely cover the eggs because the corn syrup is too dense, but make sure you've got plenty in the glass.
You guessed it, more Step Two.
They're starting to look as weary as you are! And yes, I did brush Big D's hair that morning. And no, there's nothing that can be done to prevent him looking like a rooster.
Check back in about a day to find something like this:
The only word that truly does these things justice is flaccid.
Then, because you love your kids more than life itself, stick your hand in there and pull those eggies out and put them on a plate.
Again, some things are hard to tell in the picture. The yolks in these eggs were rock hard. I'll wait here while you go lose your lunch.
Guess what The Boys wanted to do next. Yep, make them expand again.
Back in the water they go.
And the next day:
The Boys wanted to shrink them again, but a mama has got to draw the line somewhere. This experiment had been going on for a week and my house had gone from smelling like I'd read too many Pinterest pins on how to make all-natural household cleaners to smelling like an Easter egg had gone undiscovered.
A few notes:
I used Wilton gel colors when coloring the eggs. I'm not sure if your colors would be as vibrant with standard grocery store food coloring.
The moving of the eggs in and out of glasses is best handled by a grown-up, or at least a big kid. I did all of the transfers very carefully with my bare hands rather than a spoon and we didn't have any casualties, but it seems like you could break one of these guys open pretty easily. If you do tear one, please leave a comment to let me know what it's like on the inside.
I don't recommend eating the eggs, mostly because they've been sitting out for a while. And also because they've soaked in vinegar and corn syrup- two mediocre tastes that I'm certain taste less-than-mediocre together.
That said, if you do eat the egg and live to tell about it, please leave a comment!
*Absorption, not evaporation.
**I don't think that could actually happen since in this case the color has crossed the membrane of the egg and it's colored on the inside and the outside.
***Corn syrup only has a little water in it, so the water will flow out of the egg and into the corn syrup.
And that concludes our rundown off Week One of Science Camp. There's another week coming up and I'll be sure to include you in all the fun!